Being that I am a lover of all things holiday, my house seemed to be lacking in Valentine decor. 'Bout to change that!
First project....embellished valentine subway art.
What You Need:
- 8"x10" canvas
- Red paint (I used Martha Stewart Satin in Habanero)
- White Adhesive Vinyl
- Die-Cutting Machine (I used my Cricut)
- Adhesive Rhinestones
- Ribbon
- Glue/Staples
 How To Make It:
- Paint canvas red and let dry.
- Cut valentine phrases from white vinyl (I used the Cricut Word Collage cartridge and selected a few lines from the valentine design).
- Apply vinyl to canvas, leaving space between lines for embellishments.
- Adhere rhinestones, ribbon, or whatever you fancy.
Places I'm Partying:


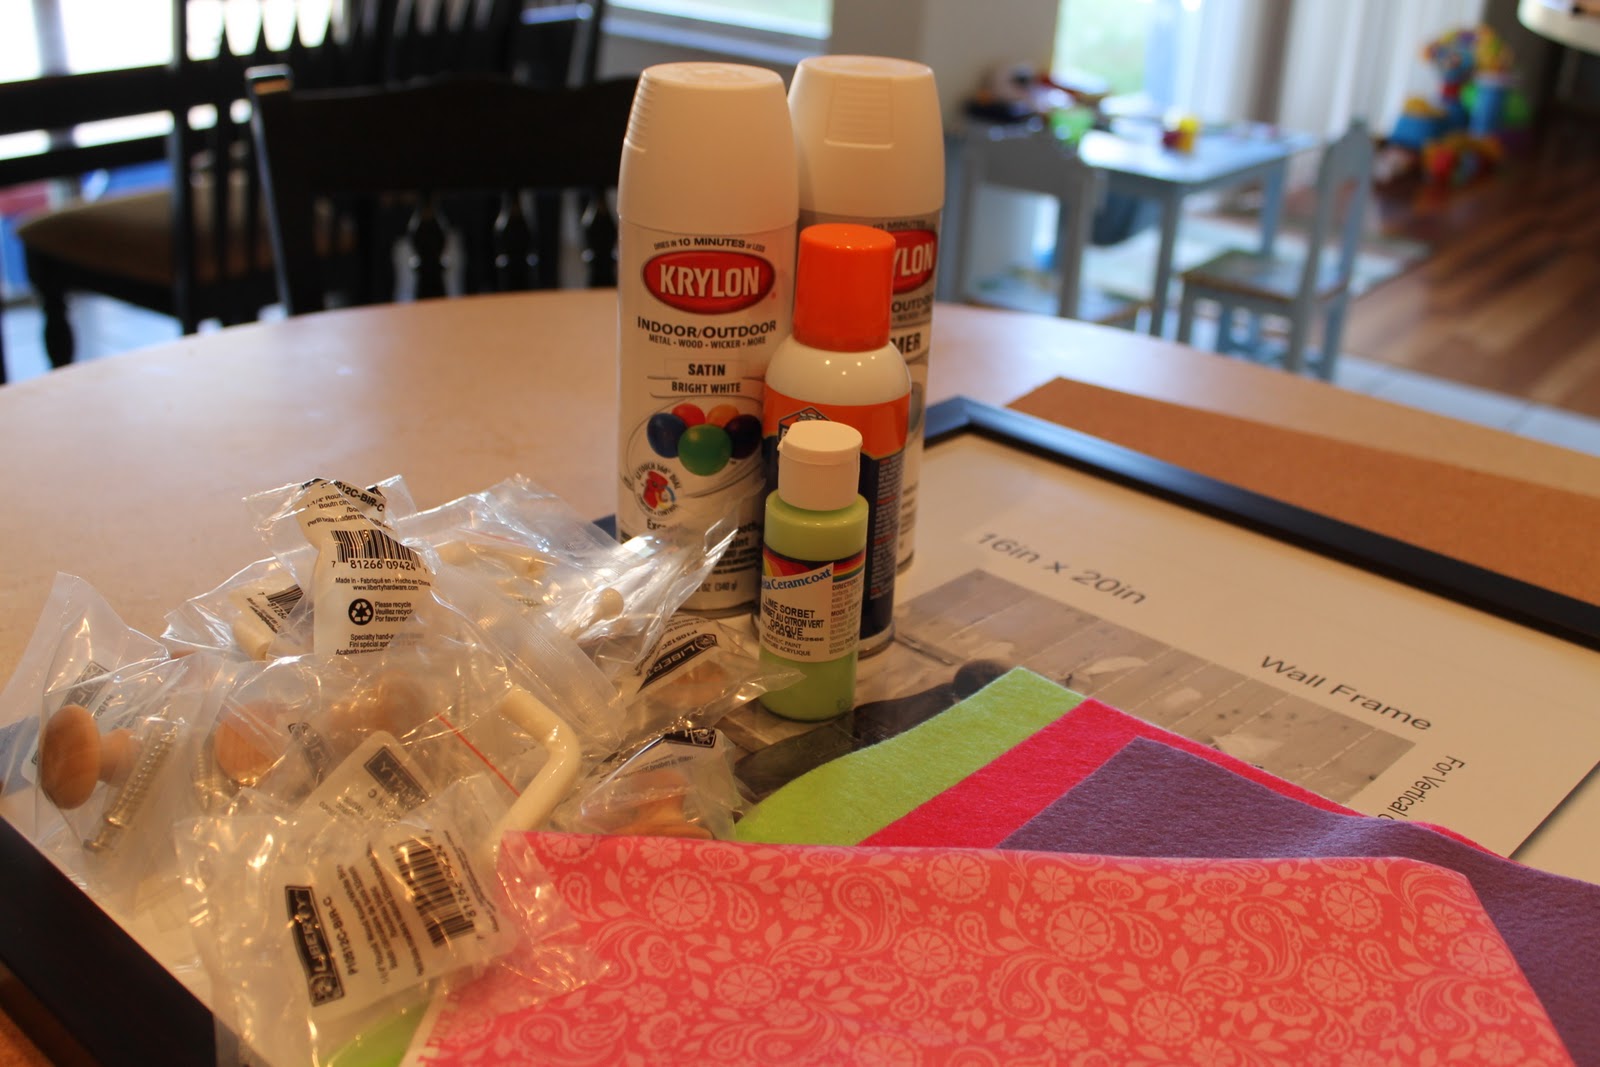
The twin girls next door just turned 8 and as their gift we bought them several pieces of costume jewelry for when they play dress-up. And for all their fancy new jewelry, we decided they'd need a jewelry board to hang on their bedroom wall.
What You Need:
- 16x20 Frame
- White Primer/Paint (unless you find a white frame)
- Small Knobs (we used wooden ones that were $0.94 at Home Depot)
- Acrylic Paint for knobs
- Corkboard backed with Cardboard (I used an old bulletin board)
- Fabric
- Hot Glue, Spray Adhesive
- Felt Flowers (see tutorial here)
- Hooks
- Small Cardboard Jewelry Box
- Embellishments (vinyl stickers, rhinestones, ribbon, etc.)
How To Make It:
- Remove glass from frame and use as template to cut corkboard to size.
- Apply spray adhesive to corkboard and glue fabric on, wrapping around sides and back. Make sure to press fabric on firmly and make sure there are no wrinkles.
- If frame is not already white, paint it with primer and white spray paint. Let dry.
- Put fabric-covered corkboard into frame and replace backing.
- Paint wooden knobs. We painted ours a lime green to match the girls' bedroom wall paint.
- Place knobs and hooks onto board and adhere with hot glue. To add strength, we drilled small holes where the screws are supposed to go to secure hooks and tied it to the board with monofilament (i.e. fishing line...some husbands fix everything with duct tape....mine fixes everything with fishing line).

- Take half of jewelry box and paint white. Once dry, line with felt (wait to glue down back side of felt so you can drill through it and tie it on) and decorate with embellishments. I used green vinyl, ribbon, and a rhinestone.
- Secure box to board by tying it on with the monofilament and with hot glue. Once secured, finished glueing the felt lining.
- Use hot glue to put on felt flowers (I put them to cover holes in hooks and on the frame).
- Embellish frame. I used green vinyl letters to spell out the girls' names and green vinyl flowers with rhinestone centers.
Places We're Partying:
 http://www.bluecricketdesign.net/



 http://thirtyhandmadedays.com/ http://junkintheirtrunk.blogspot.com/2011/11/link-it-up-wednesday-3.html